

Introduction
Create a new pvserver
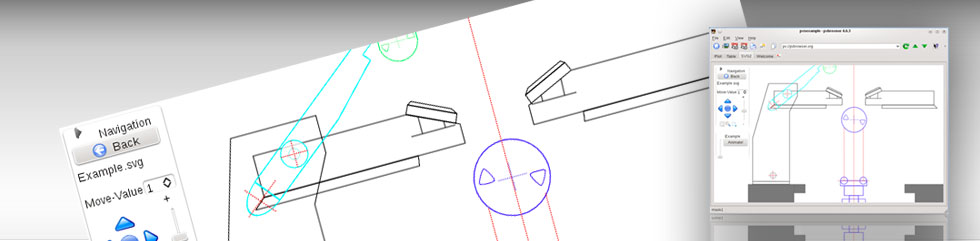
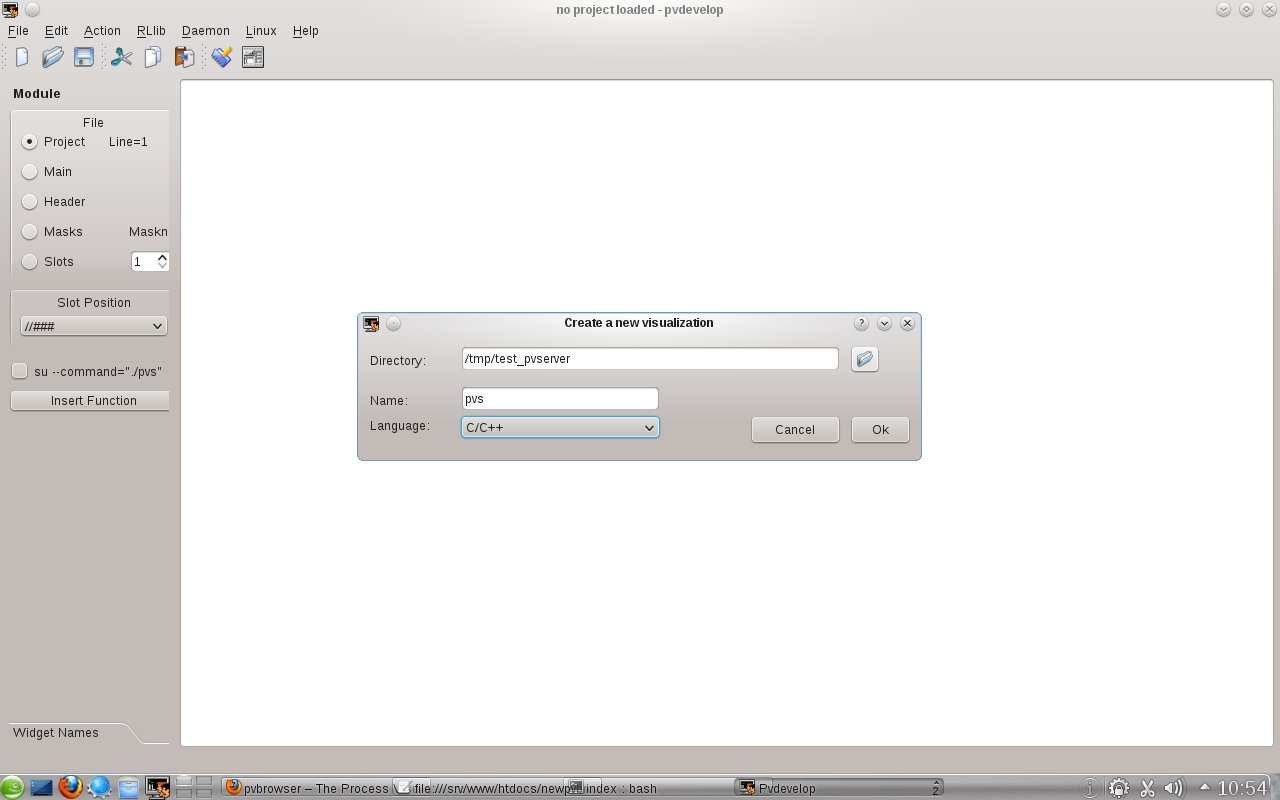
You create a new pvserver within pvdevelop by choosing the menu File->New pvserver. Then a dialog box will be shown where you set the directory where your project will be stored and select the programming language you want to use as C/C++ or Lua.
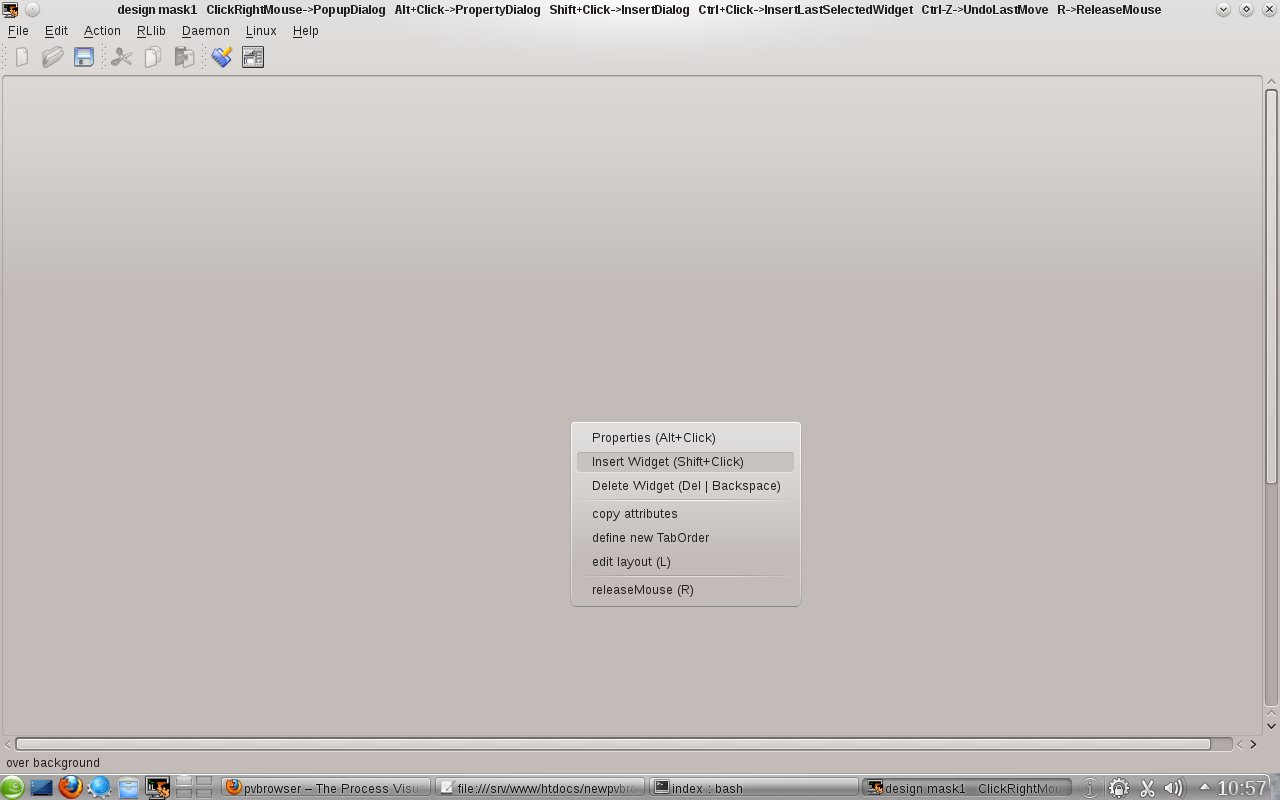
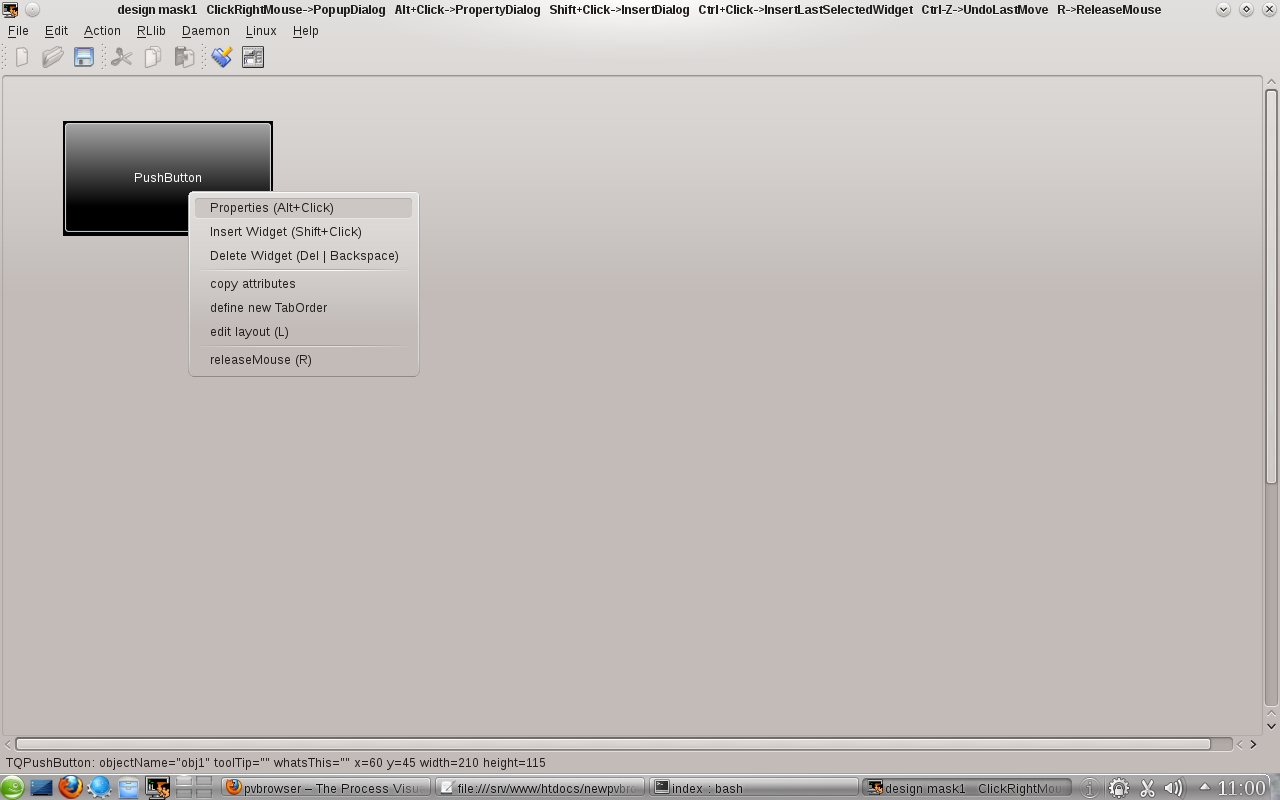
After you click OK pvdevelop goes to the designer mode of pvdevelop. In this mode most functions are available over the popup menu (right mouse button).
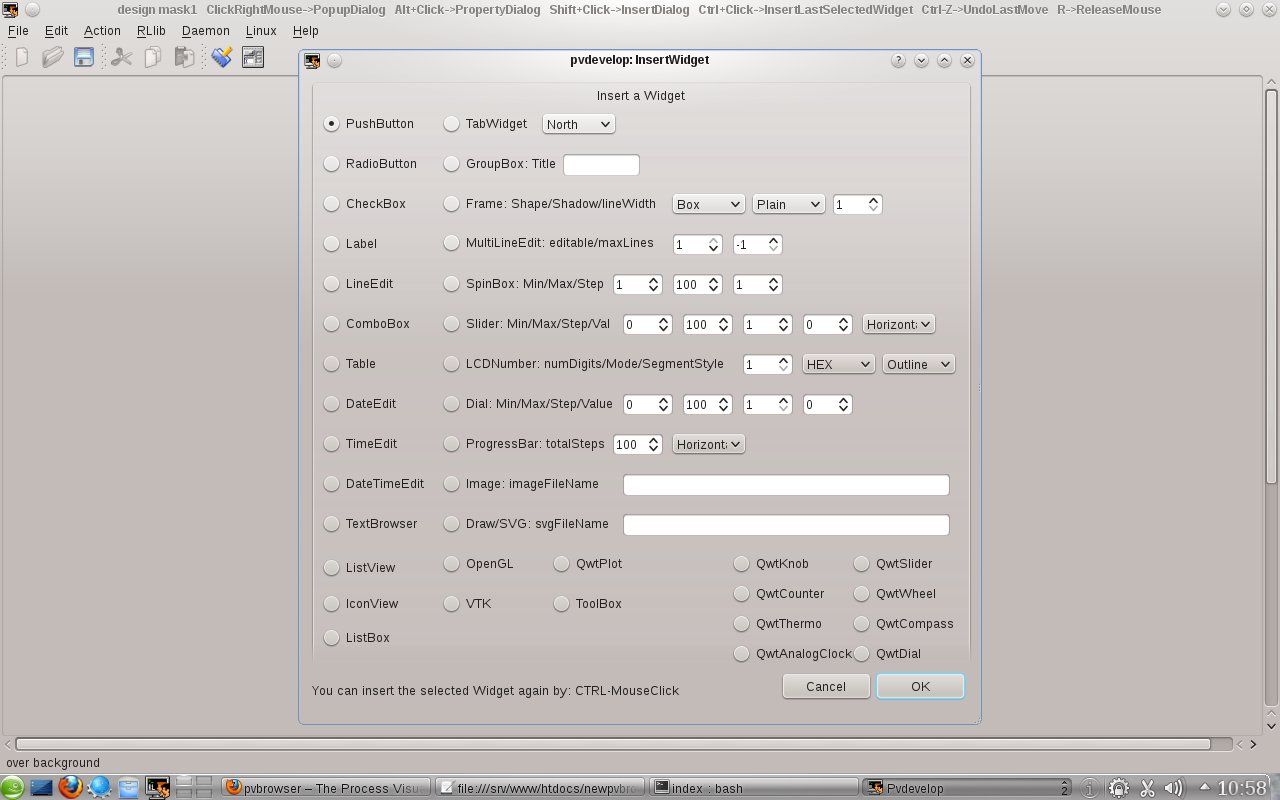
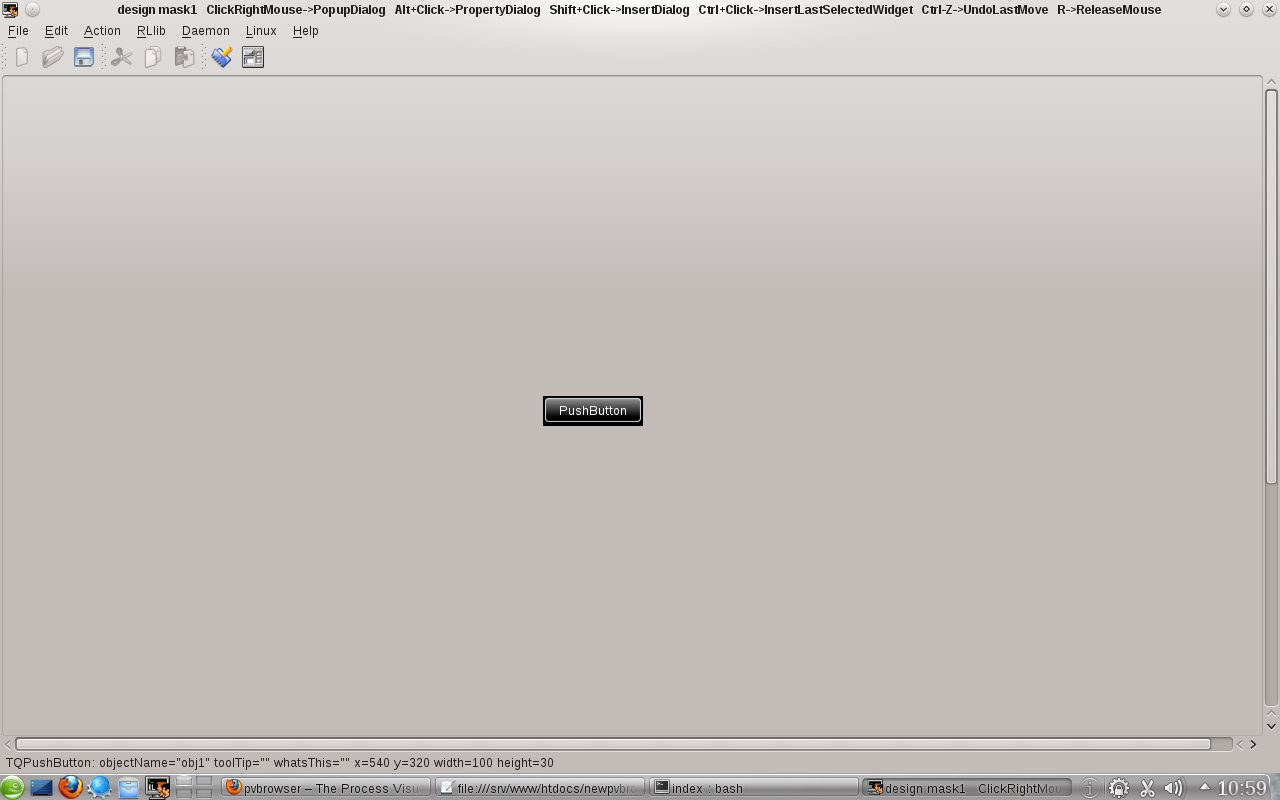
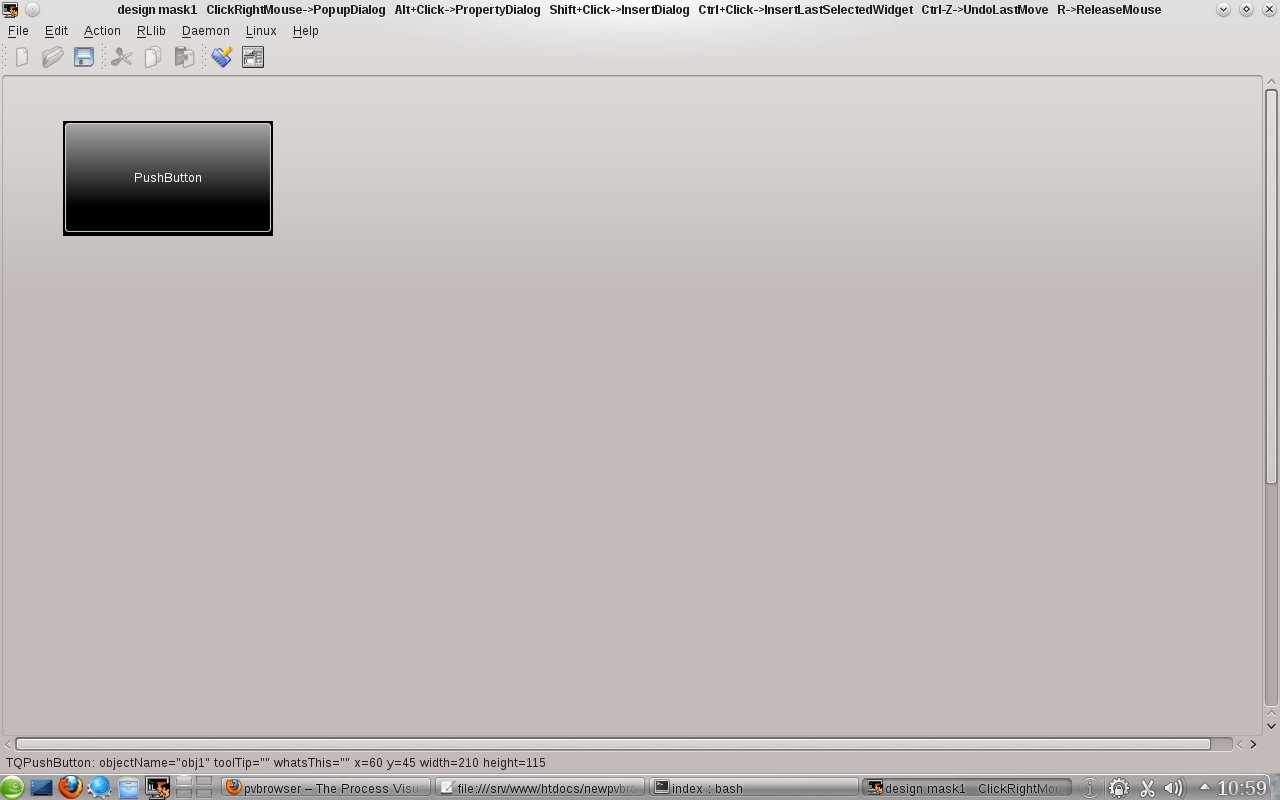
Now select Insert Widget from the popup menu. Within the dialog that is shown you can select what type of widget to insert and click OK. The widget will appear in the window of pvdevelop. You can move it around and resize it using the mouse. More accurate positioning is available over the keyboard. The selected widget can be moved around with the cursor keys and resized with ctrl+cursor keys.
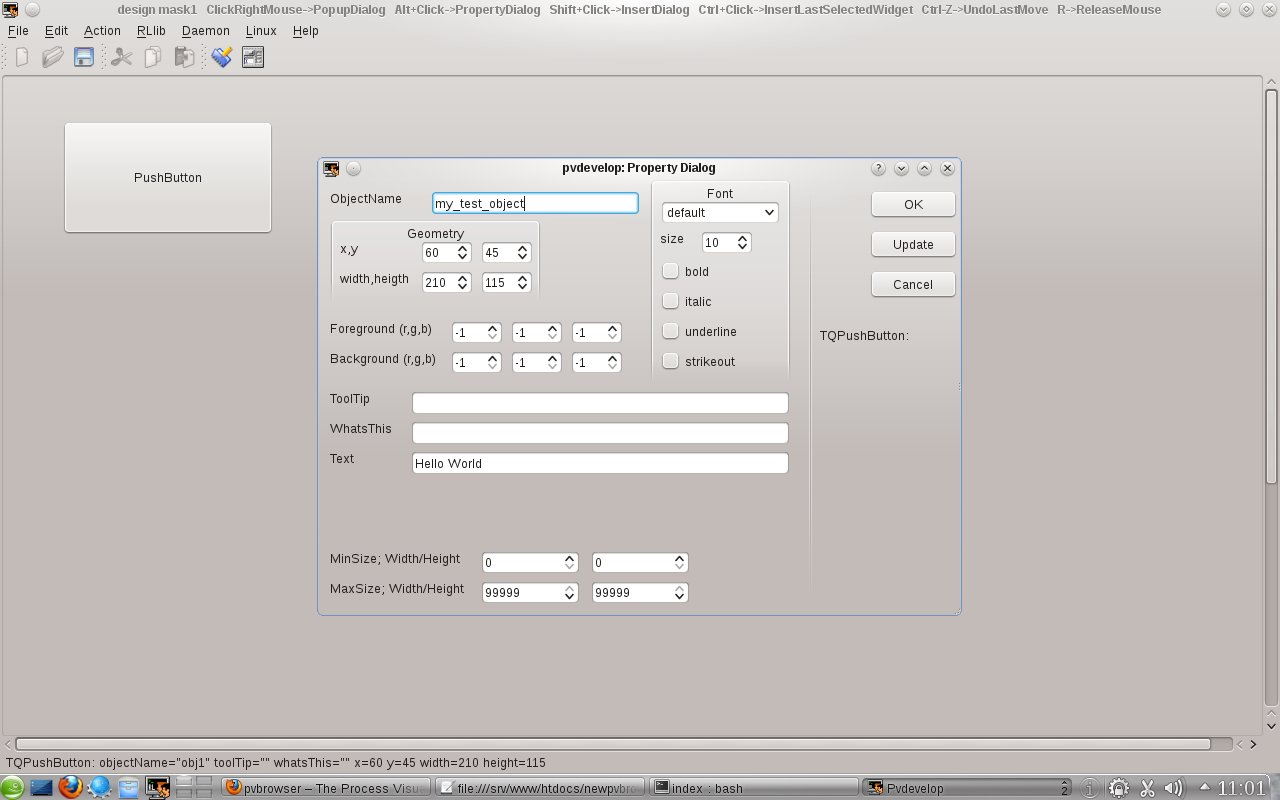
You should set the property ObjectName of the widget to a meaningfull name. This name will be used to address the widget when you are coding in C/C++ or Lua.
Steps

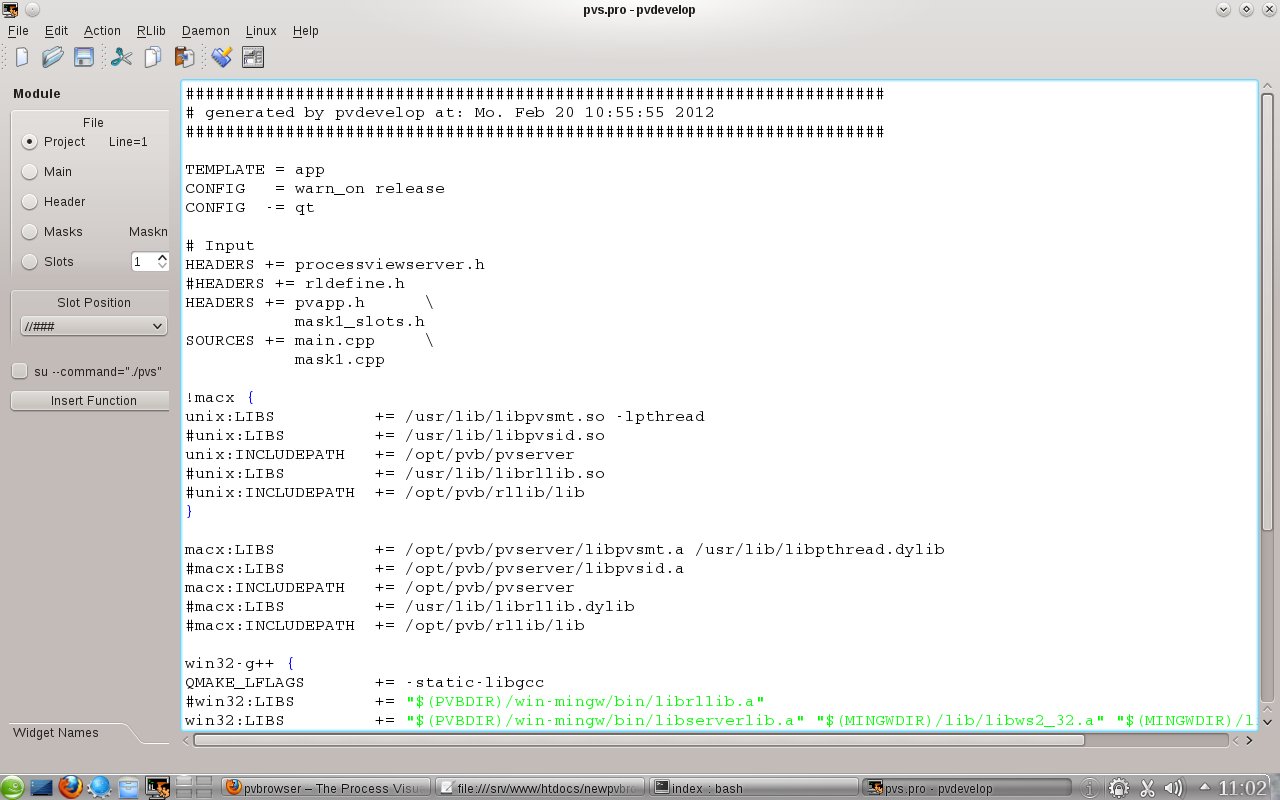


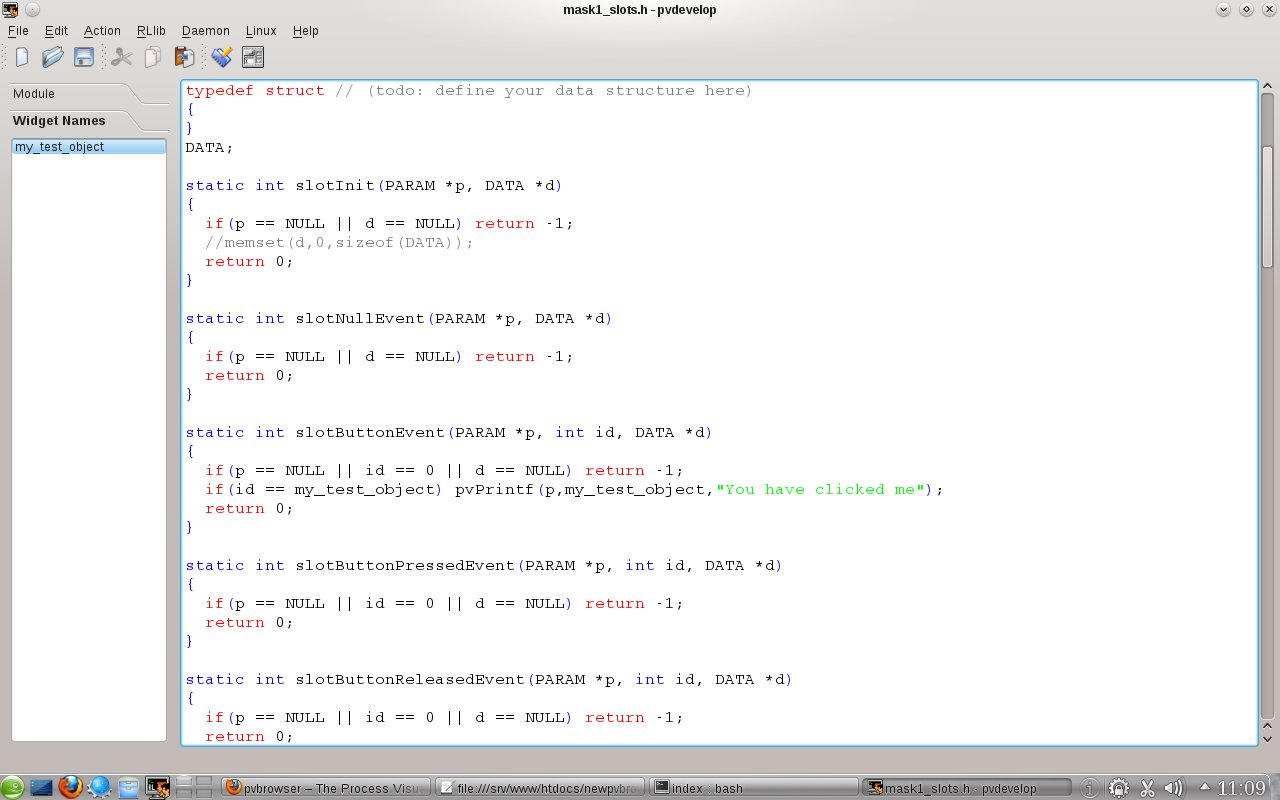

If this is your first Hello World with pvbrowser you should now click the menu
Action->Editor in order to go to the
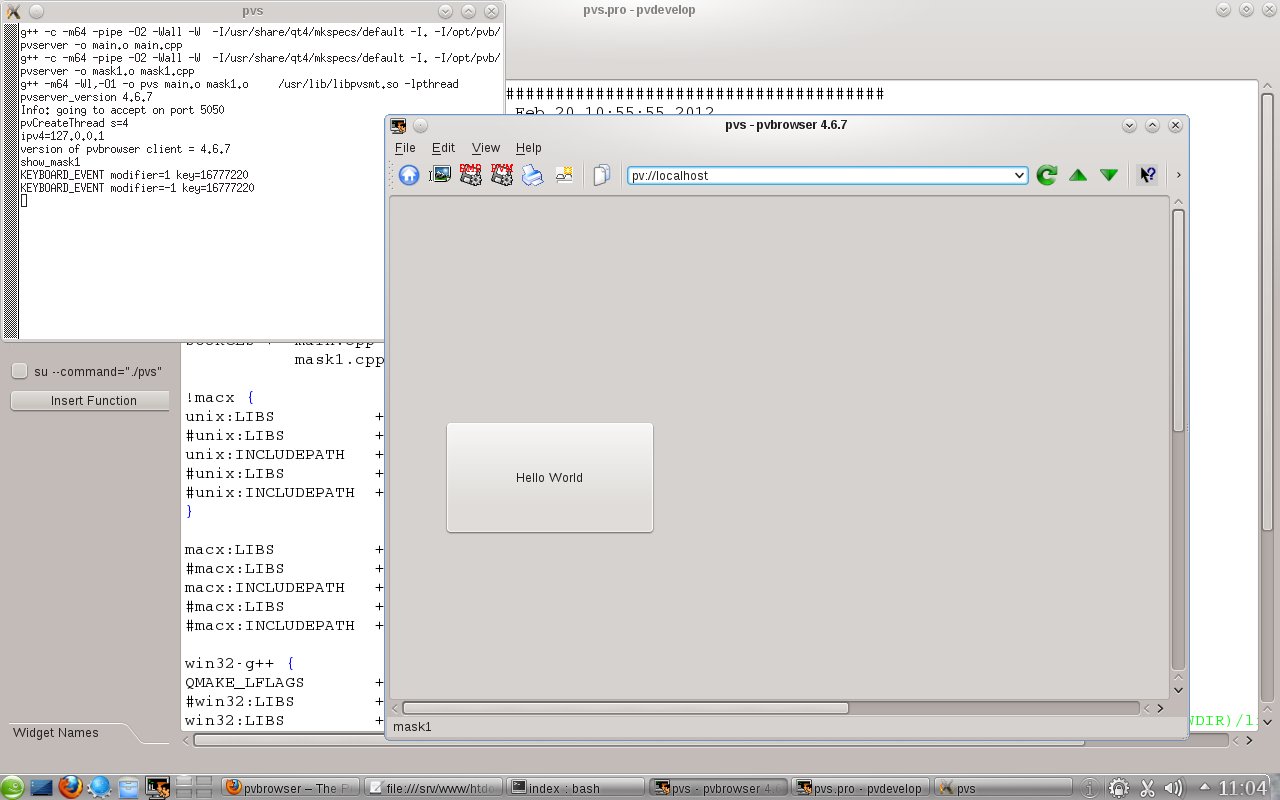
If this is the first time you use pvdevelop click the menu Action->StartServer. Now the sourcecode will be compiled and your pvserver will be started within a terminal window. You should see something like the following in that window.
g++ -c -m64 -pipe -O2 -Wall -W  -I/usr/share/qt4/mkspecs/default -I. -I/opt/pvb/pvserver -o main.o main.cpp
g++ -c -m64 -pipe -O2 -Wall -W  -I/usr/share/qt4/mkspecs/default -I. -I/opt/pvb/pvserver -o mask1.o mask1.cpp
g++ -m64 -Wl,-O1 -o pvs main.o mask1.o     /usr/lib/libpvsmt.so -lpthread
pvserver_version 4.6.7
Info: going to accept on port 5050
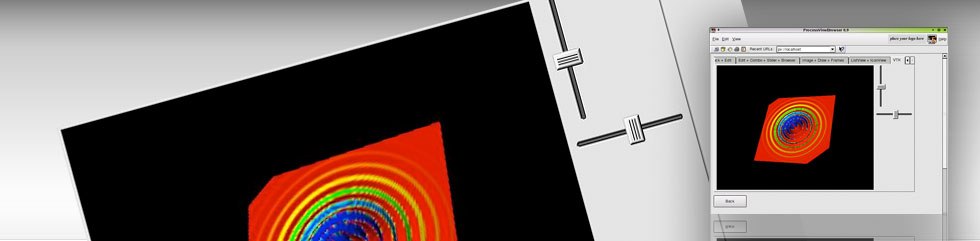
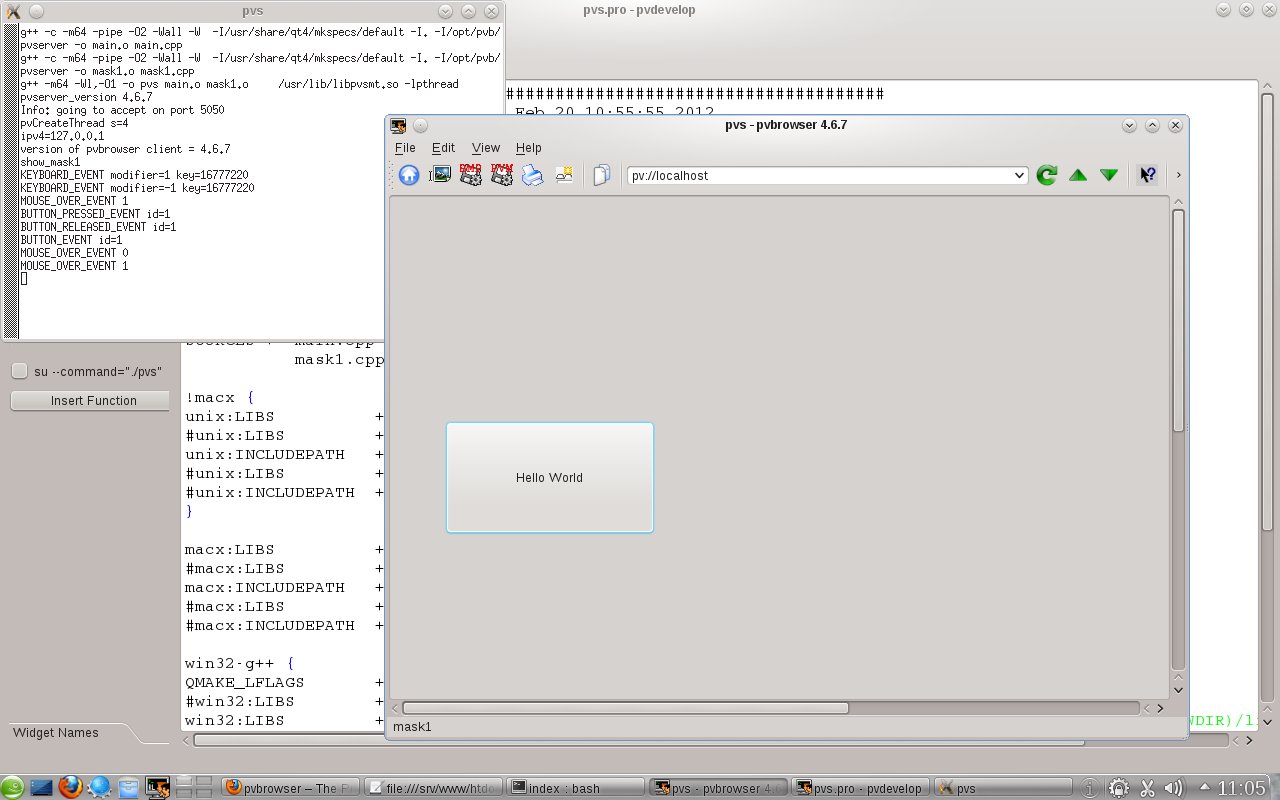
That is your new pvserver is waiting on port 5050 for a pvbrowser client to connect. Start pvbrowser and use the URL pv://localhost:5050 to connect to your Hello World pvserver.
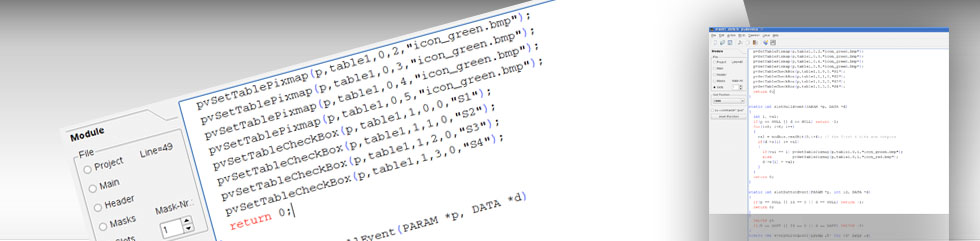
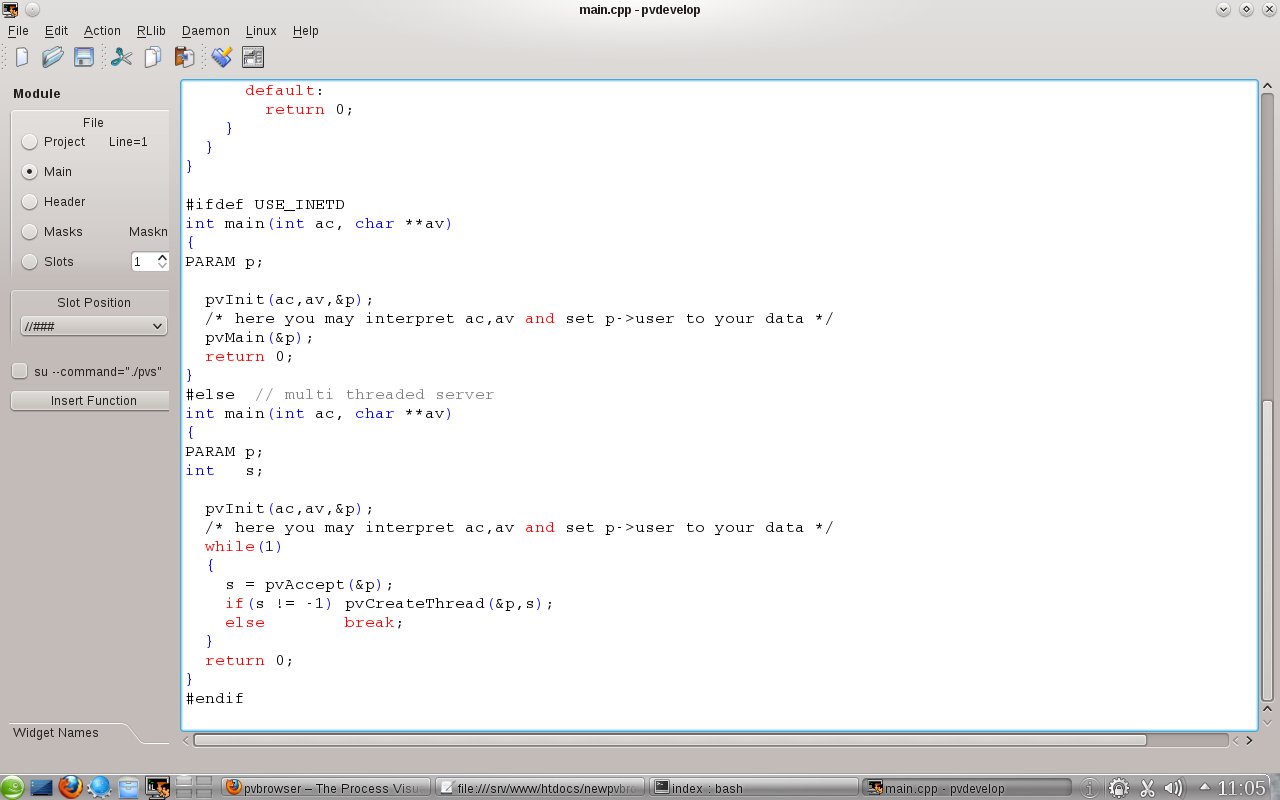
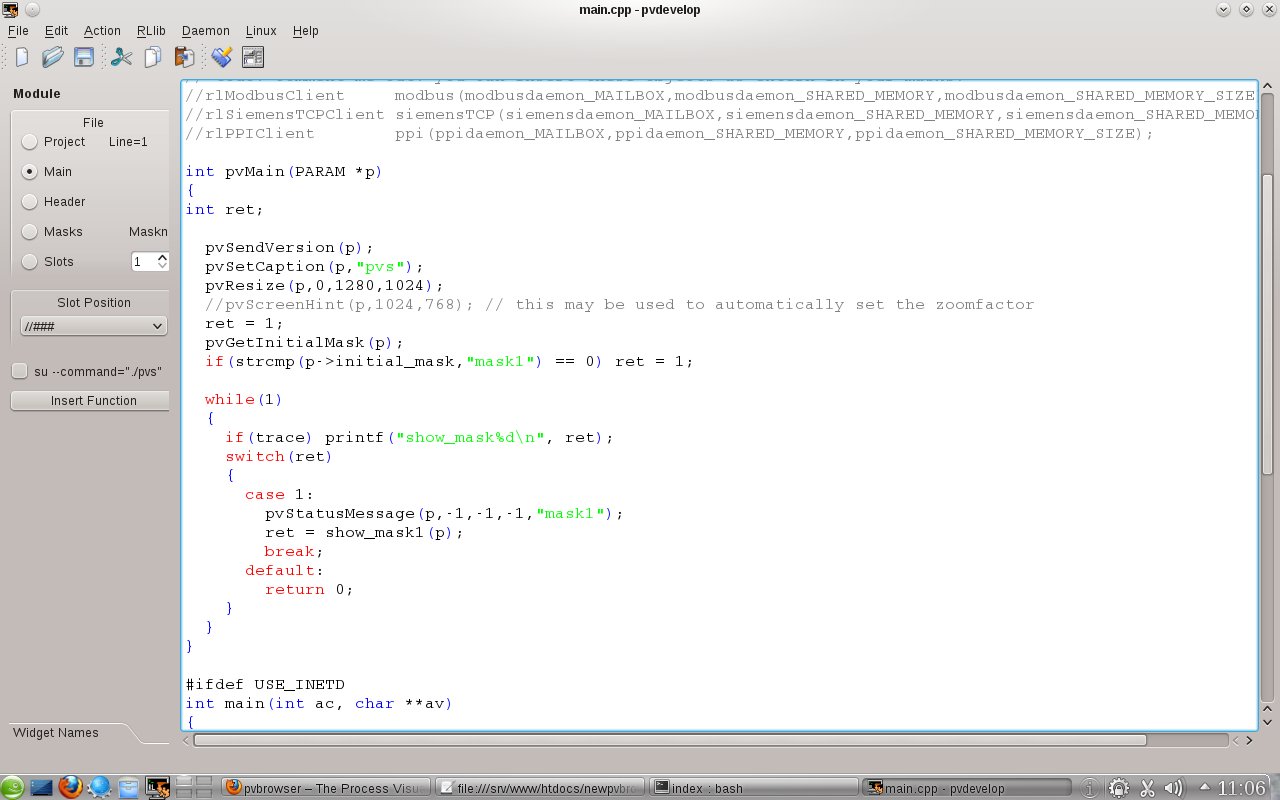
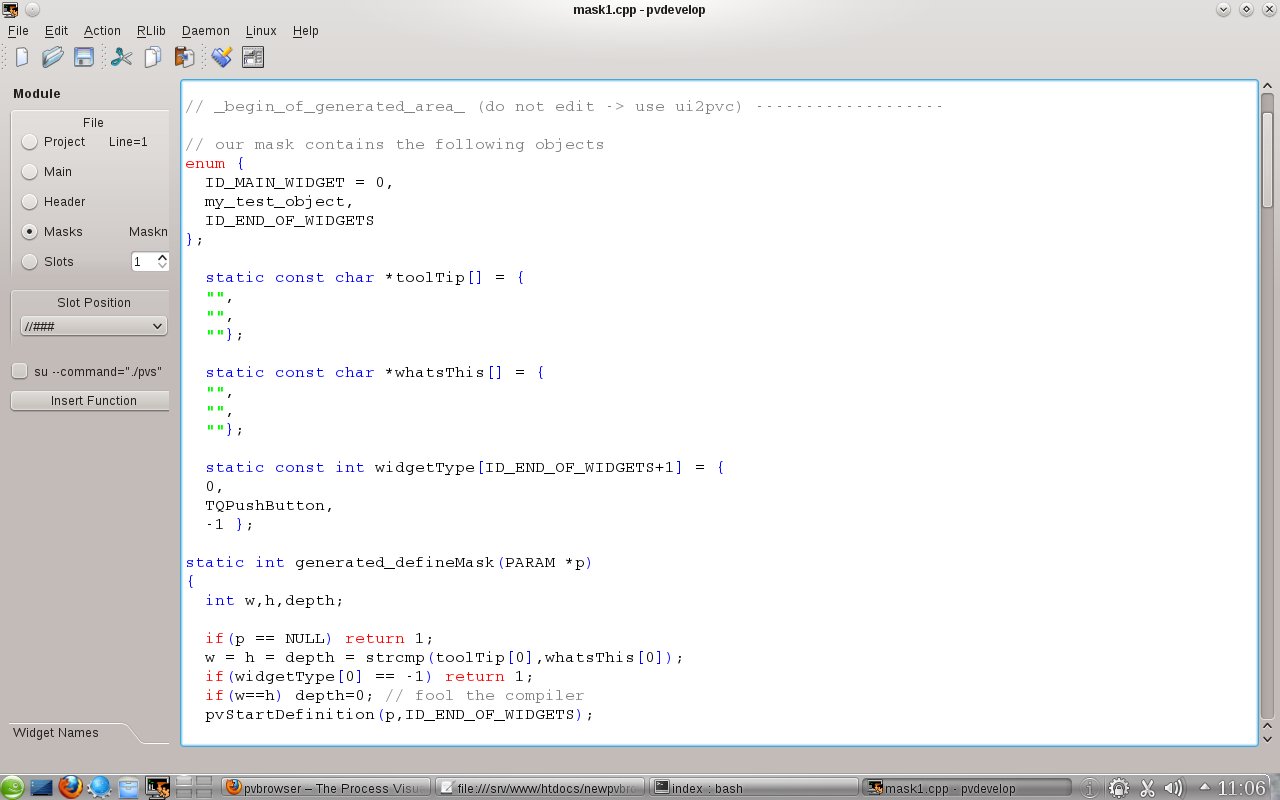
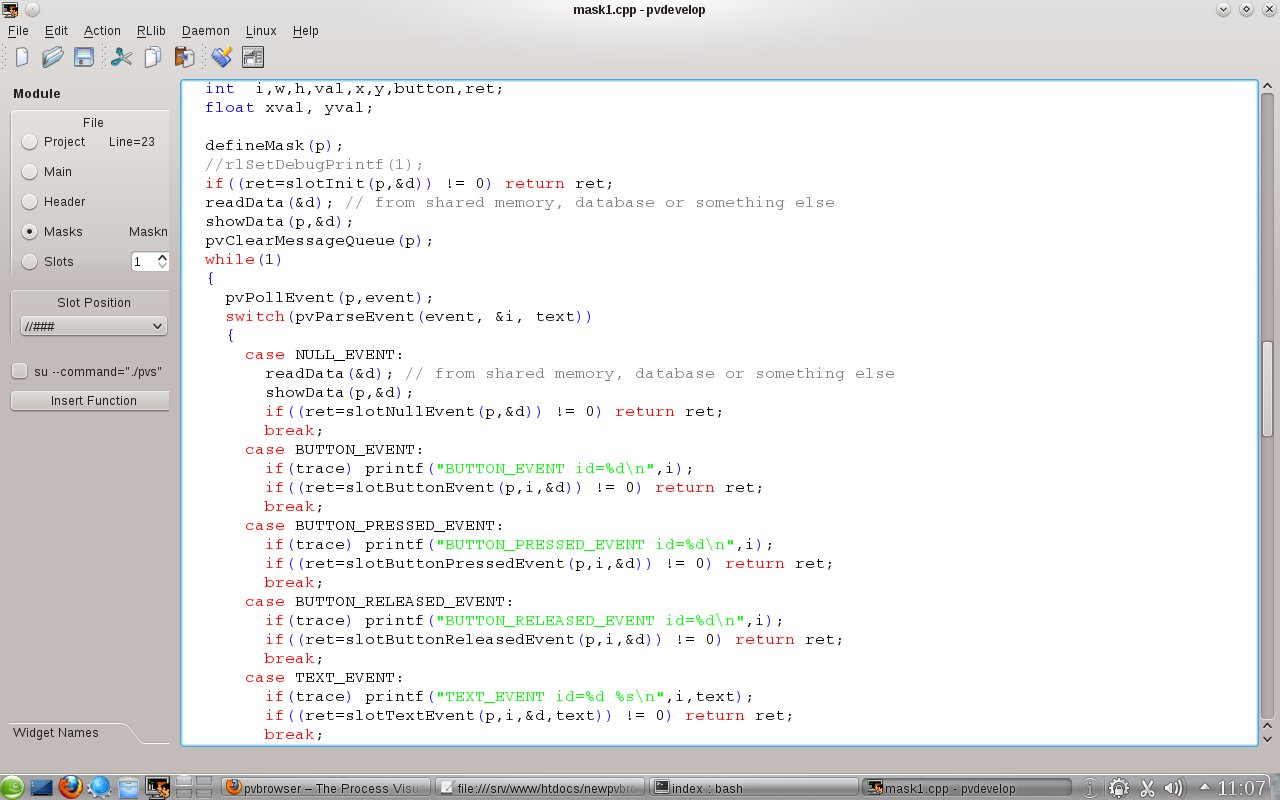
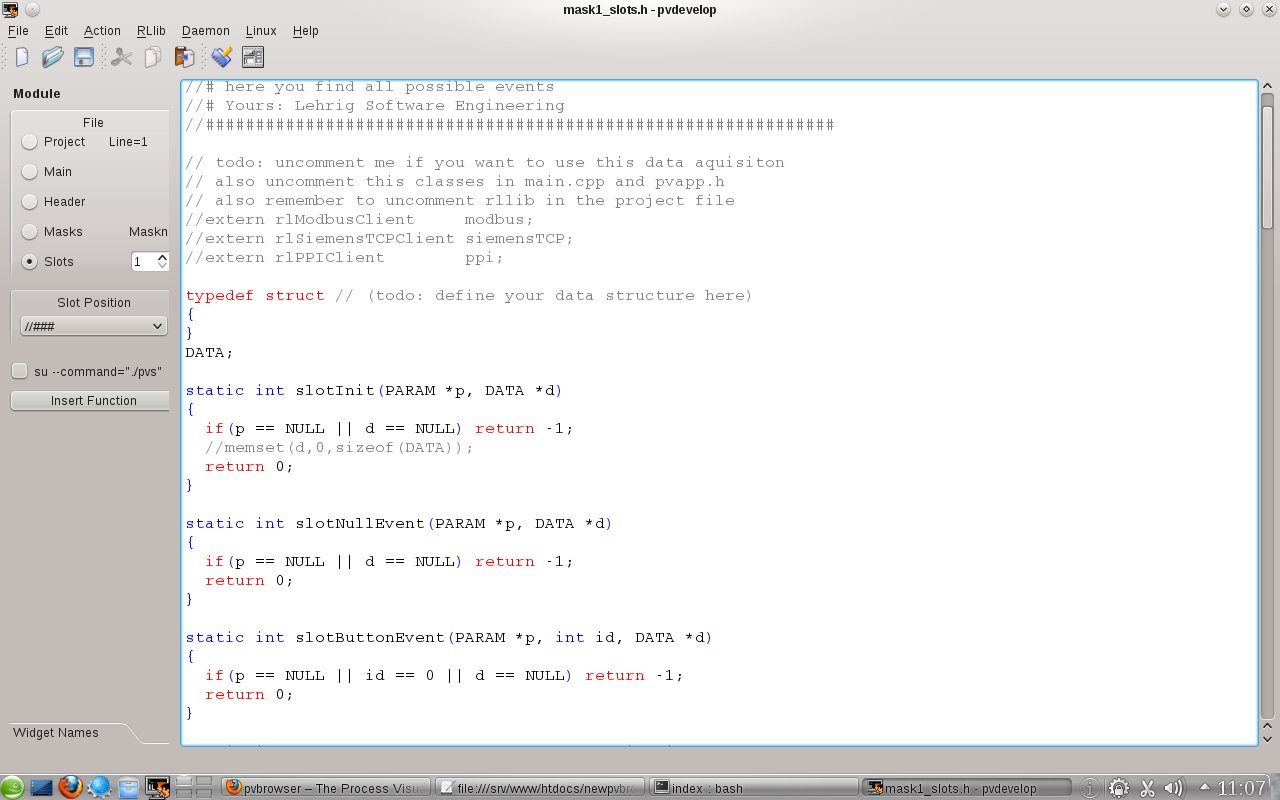
After your Hello World pvserver is running you should browse the sourcecode in order to better understand how your pvserver is working. While coding your pvserver your main task will be to code the content of the slot functions. The slot functions handle the events send by the pvbrowser client to your pvserver. Most other code will be automatically generated or updated while you graphically design your masks with pvdevelop. Please look for the comments within the sourcecode with a do not edit comment.